

Project Description
Welcome to the “Friends of True’s – Swirly Spring” BLOG HOP!
If you are here from Suzanne Dean’s blog, ScrapBitz, you are in the right place. If you just happened onto my blog you will want to head back to True’s blog, True’s Gifts From The Heart, where it all starts. There will be a prize package donated by Inky Antics that includes True’s entire, newly released, Swirly Spring stamp line. Now, let’s get to the project!
 (click to enlarge, it’s really pretty big LOL) (click to enlarge, it’s really pretty big LOL) | 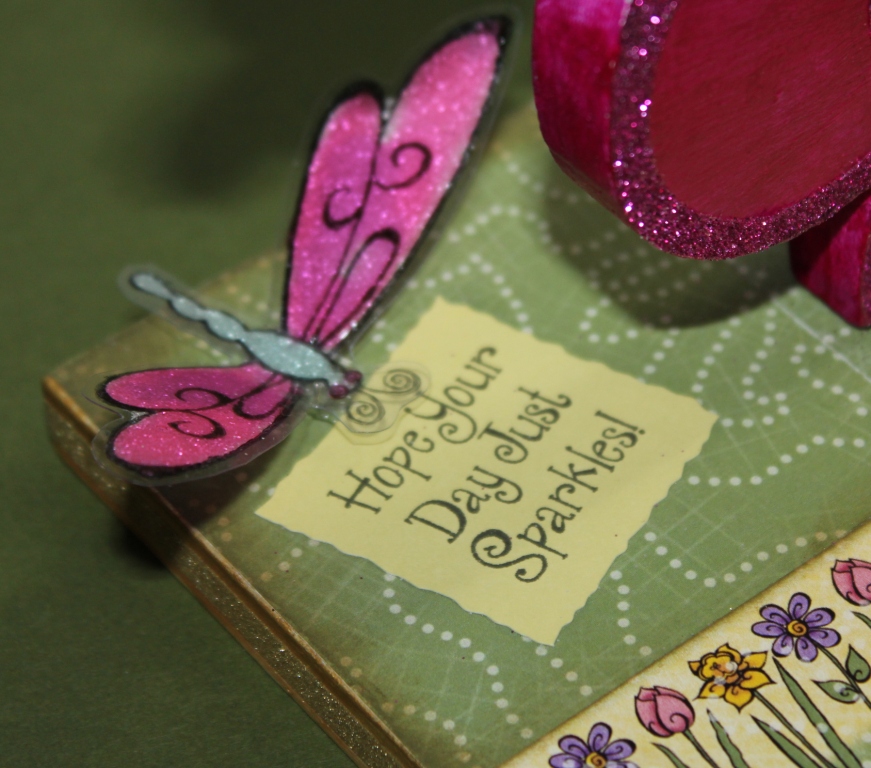 |
If you’ve seen my past projects, you know that most wouldn’t be called “cute.” I tend to gravitate to old pieces of metal, wood and dark colors instead of swirls and flowers. But when I saw Trudy’s latest line, bright colors, fun lines and whimsical kept popping in my head. When I read her sentiment, “Hope Your Day Just Sparkles!” I immediately thought GLITTER!
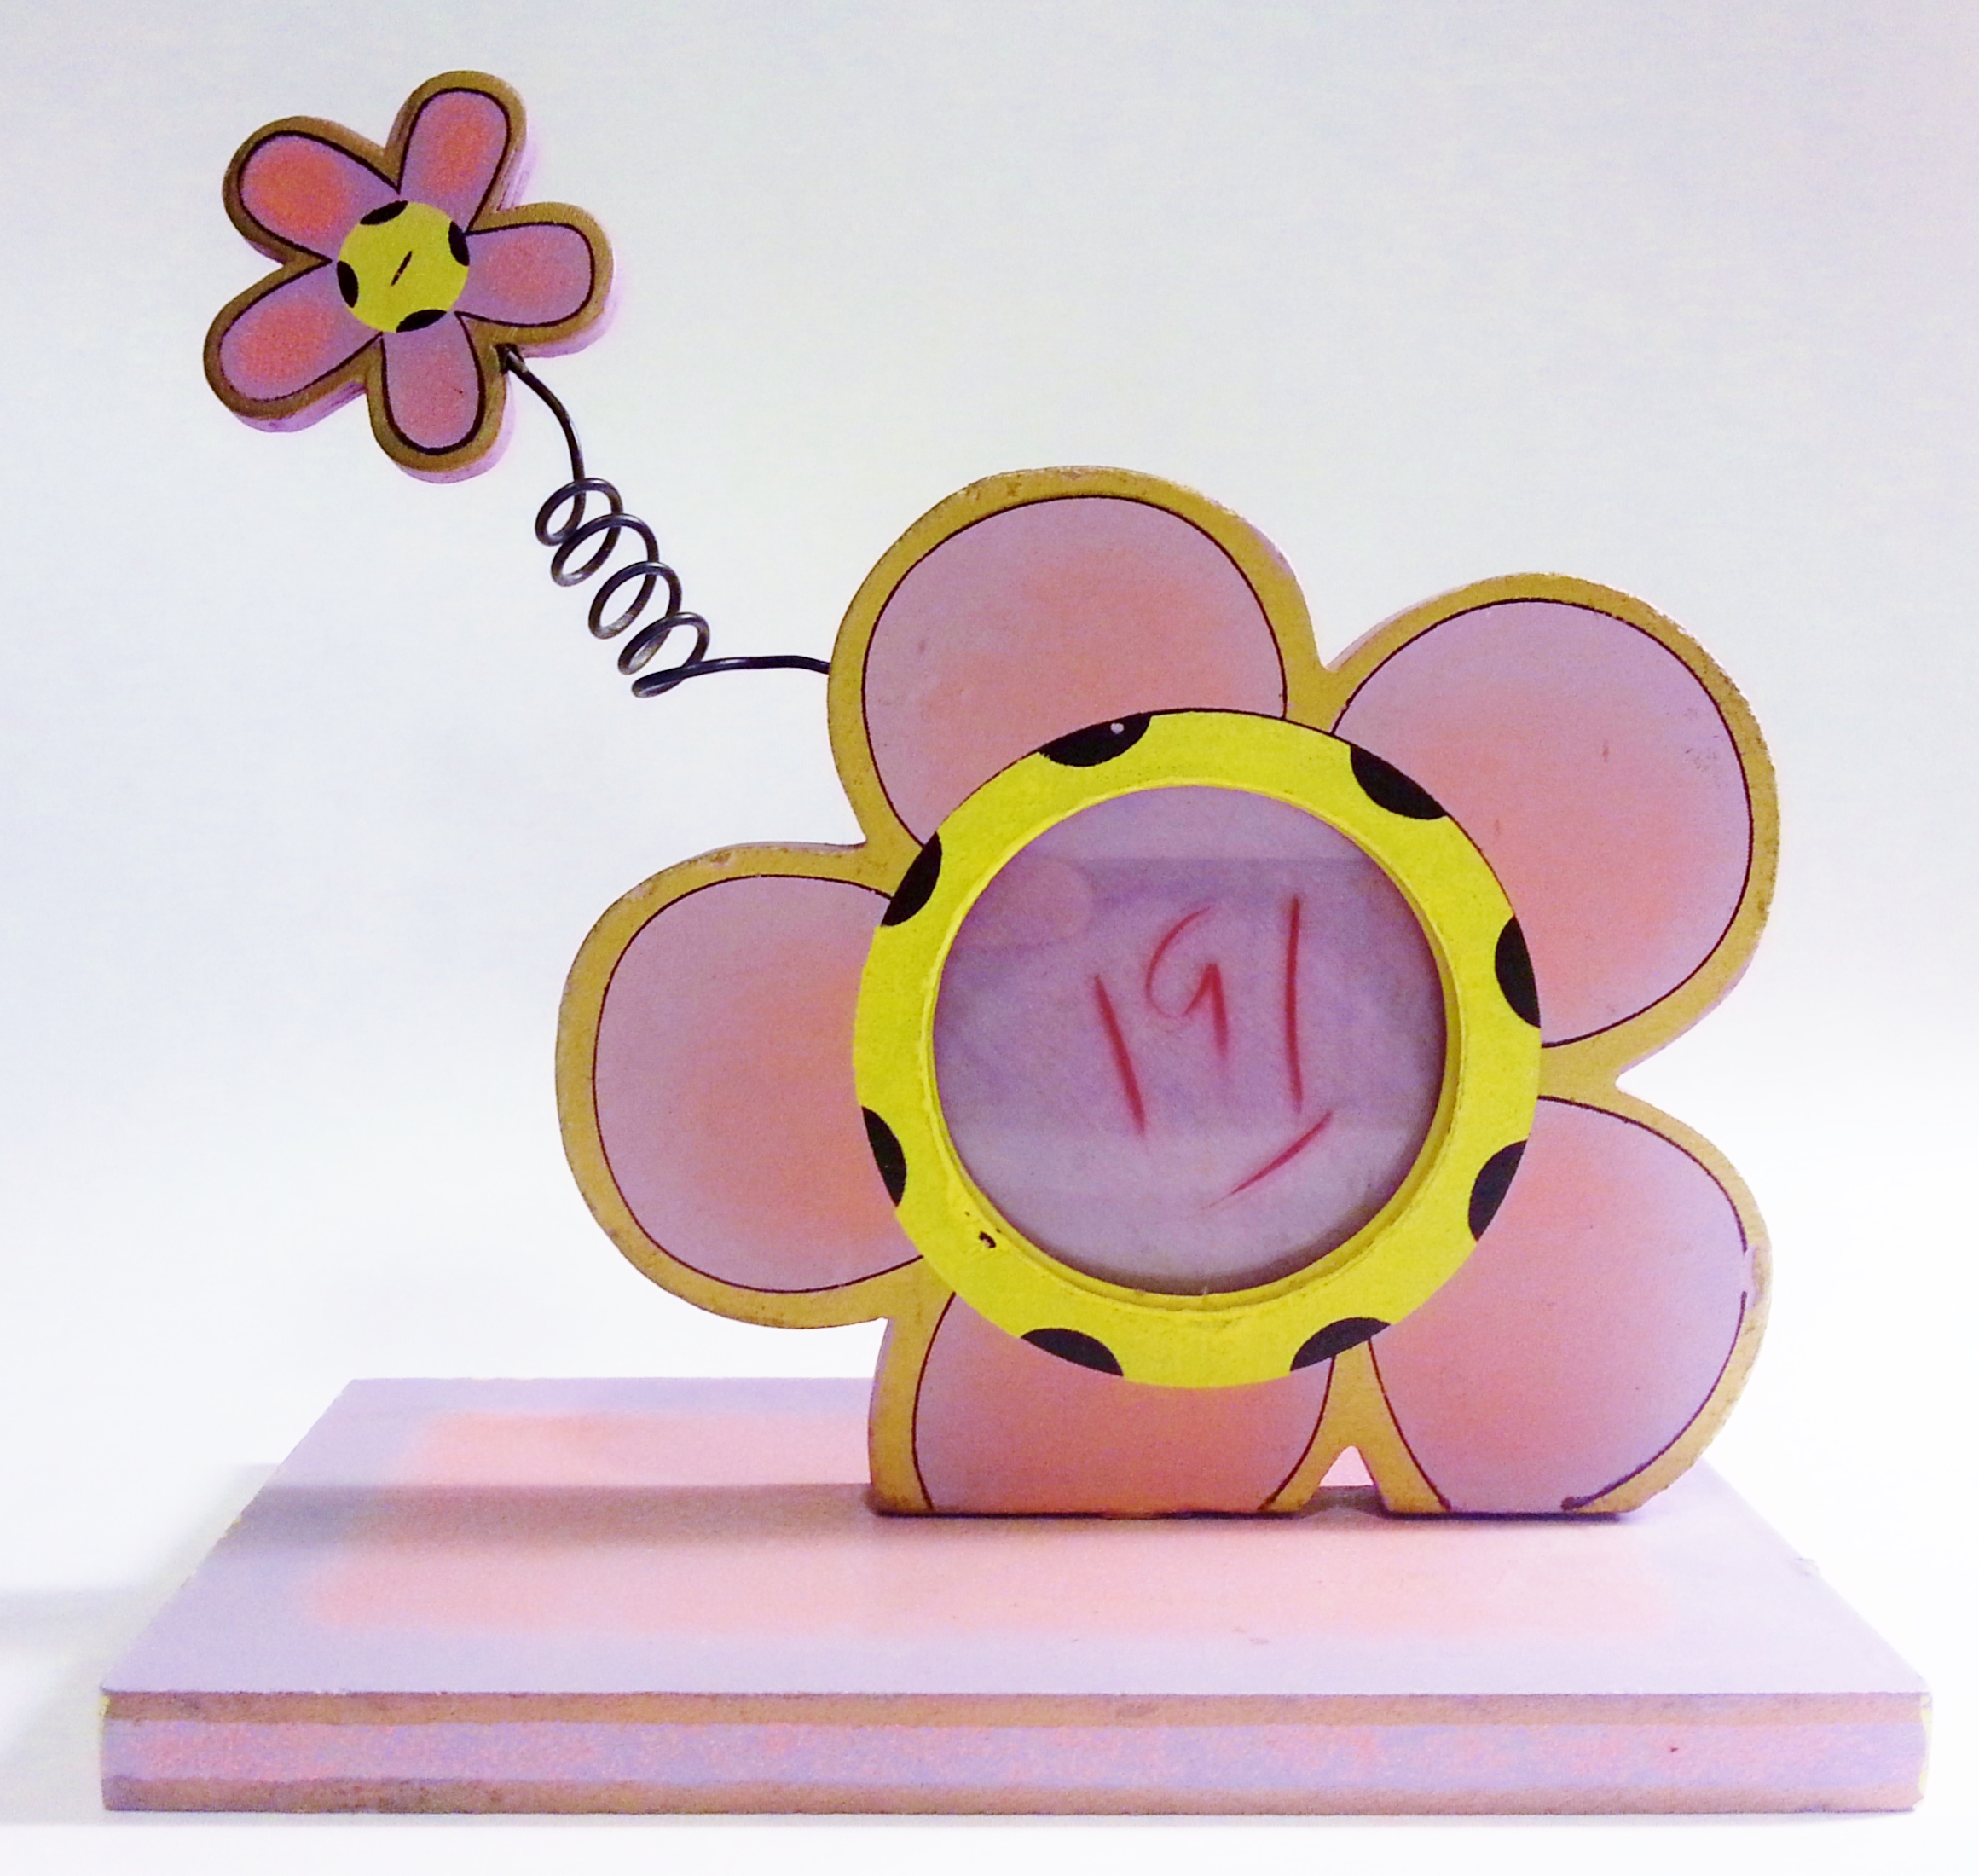 This little photo frame jumped out at me during one of our many thrift store excursions. It was ugly, but it screamed whimsical to me. I thought it would look adorable with Trudy’s papers and her dragonflies. For $1.91, it was worth trying, right? I got it home, took it apart, and coated the entire piece with white gesso. It probably wasn’t necessary, but I just tend to start every re-purposing project with gesso. I think it gives me a “visual” clean slate.
Next, I painted the piece with Perfect Pigments™ – Pure Liquid Acrylics™ from USArtQuest. I have used the Metallic Lt. Gold often and always love it. But this was my first time to use Magenta, and WOW! is it beautiful! It’s such a rich, deep, saturated color!!
While the piece was drying, I worked on the embellishments. A strip of flowers cut from Trudy’s papers would make a border. Her sentiment stamped on a small mat would fit perfectly on the base.
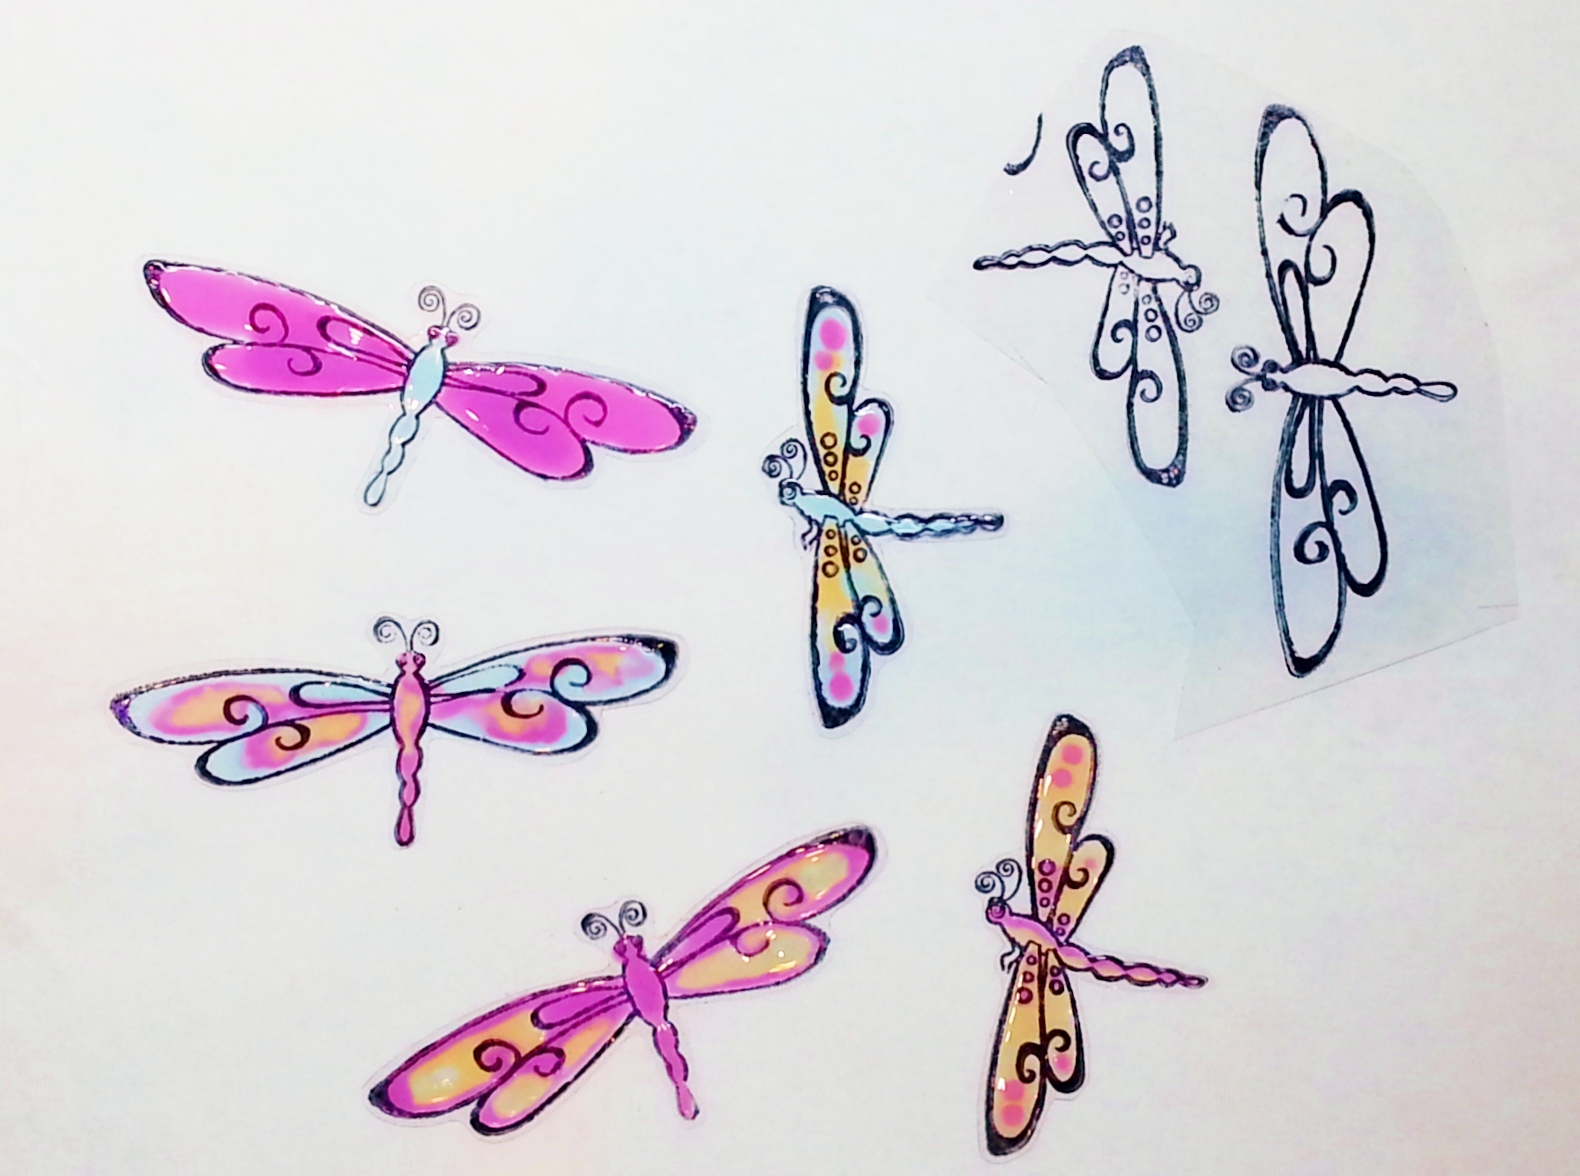 I wanted Trudy’s dragonflies to really stand out. So, they were stamped on acetate and one side was colored with colored Crystal Lacquer from Sakura Hobby Craft. Once that was dry, the other side was covered with clear Crystal Lacquer which was then covered with white glitter. After that was dry, they were cut out. To give the dragonfly on the base some feet, I attached a small spring with clear Crystal Lacquer.
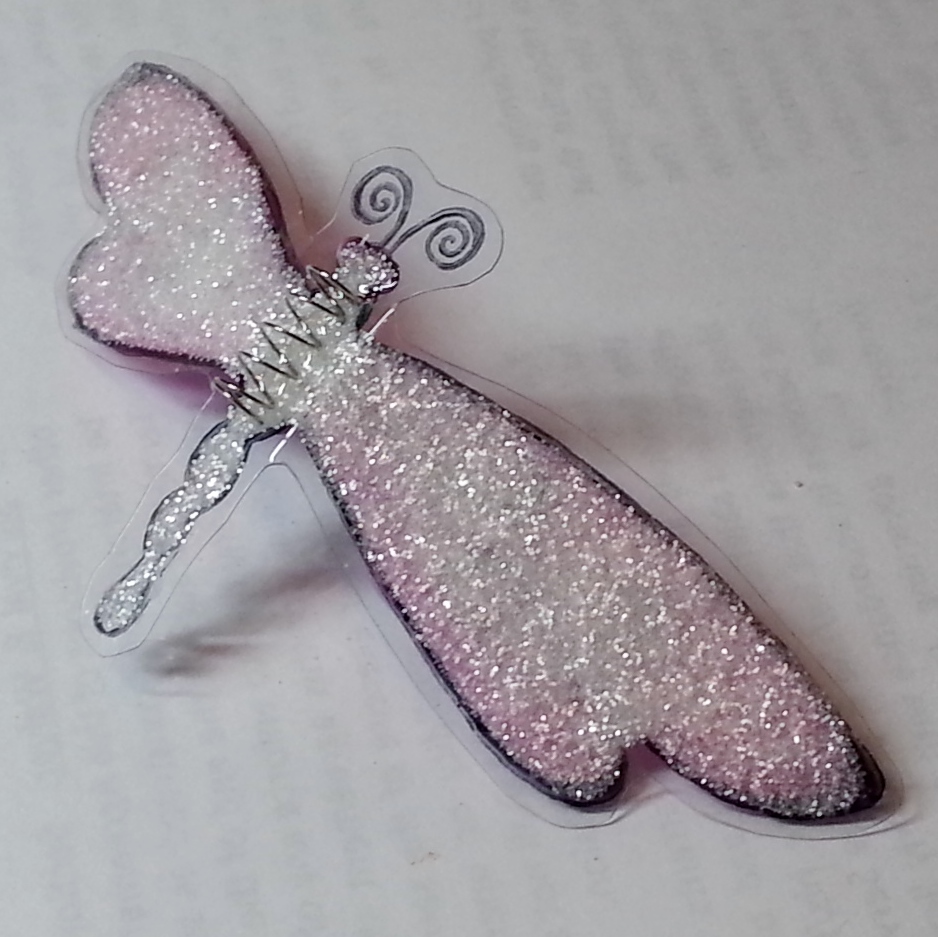 A scan of the wooden flower was the start of a pattern for my Zing Electronic Cutting Machine. I tweaked it a bit and then cut out the pattern from Cut Bond Create – double sided adhesive sheets from USArtQuest. The finished cut out fit perfectly on the flower. I peeled off the top layer of adhesive and covered it with glitter. I punched out a small flower from a scrap of the Cut Bond Create, attached it to the small flower and covered that with gold glitter. Last, I wrapped the base with Great Tape from USArtQuest and covered the exposed tape with gold glitter.
Put it all together, adhere the dragonflies with some Crystal Lacquer and you have a whimsical frame. This one has a picture of my friend, Carole Lassak‘s, grandaughter, Chloe. I can’t wait to give it to her as a gift!
Now, after you leave me a comment, it’s time for you to move on to the next blog in the hop. Here is a list of all of the links in case you get lost along the way.

Make sure to leave a comment on every stop, to increase your chances of winning the prize package. One lucky commenter from a randomly picked blog will win all 6 stamp sets! The winner will be announced on True’s Blog on Monday, March 11th, 2013.
Your next stop on the hop is Judy Rozema’s blog, Joy In A Jar. But, before you go, leave me a comment! How did I do at one of my first “whimsical” projects?
Happy Crafting and Good Luck in the Hop!
Joe
Wow Joe that is beautiful! Great idea. What inspiration!
It is just amazing how you turned that plain looking dollar store find into something so pretty! 🙂
I love the way you colored and embellished the dragonflies!
I am sure Carole is going to love it as much as I do!
Thanks so much for playing along, and for helping me promote!
You ROCK!
Hugs,
True 🙂
Wow that frame is stunning and such a great idea!
Oh my goodness! What an absolutely excellent, creative idea. Thanks so much for sharing it with us.
Joe! You totally nailed it with these awesome projects! I can't wait until we get to sit down and create some fun together!!!! Hugs! Sean
Your granddaughter is gonna LOVE it! Heck, I do! LOL!
Great way to "think outside the box" with these lovely stamps!
What fun and whimsical projects!
Way cute. Love mixed media and 3D projects. Great idea.
This looks so pretty! Great idea!!!
This is so clever and such an original way to use the stamps. Brilliant.
OMG! What a wonderful idea! wHAT A GREAT GIFT THAT WOULD MAKE FOR A TEENAGE GIRL!
Very clever and creative ways of using True's stamps. Thanks for sharing.
What a darling photo frame! Just too cute for words!!
Great thrift store find! Great project!
cute item. love that saying.
I see GLITTER! I love your creation, marvelous.
So excited to see all the projects.
Allie Gower
My Card Party
This was my first visit to your blog but it won't be my last. Your work is great and I love what you have done with this stamp set.
My goodness, you wanted that dragonfly to pop and it sure does….what a great way to do it. Glitter, glitter, who doesn't love glitter. Great and creative designs.
Fabulous way to use these delightful stamps! Love the charm they all have!
Beautiful job and I LOVE the frame!!!! Love your use of the darling stamps!!!
Oh my word. I am truly admiring this darling project! Not only did you begin with a ridiculously crazy dollar store 'find', it is now a sweet treasure that it's recipient is going to love! Your dragonflies are wonderful too!
~Bev
Cute frame.
Barbara Bird/DT Gecko mGalz
Mdstrwbery@aol.com
MdStrwbery.blogspot.com
Very cute. Love the dragonfly.
awesome creations… thanks for the chance…
morentin1326ATaolDOTcom
adventureofthecreativemind.blogspot.com
What a creative idea! So cute. I love thrift store repurposing, too. Wonderful job!
I like how you altered this frame with Trudy's stamps.
First off thanks for posting this hop on facebook or I would not know about it. Wonderful job on the whimsical I think you should do it more often. 🙂 Although, I also love your old metal,wood,etc. projects. That magenta color is stunning and perfect for the frame and dragonfly. The glitter goes perfect with the sentiment. I think the flower border helps to pull everything together. Thanks for sharing your fantastic creation!
Myoriah@hotmail.com
A very fun project from not attractive to cute as can be
Totally different way to use the stamps – I like it!
Fun projects… perfect for the swirly designs!
Love your up cycled project, great use of papers and stamps 🙂
Wonderful flower and great 3d project.
marg0006 at verizon dot net
Loving Scrapper 101
BRILLIANT idea!
You did great! I love the dragonfly and will surely try your recipe on one of my project. Thank you for sharing!
Wow – talk silk purse from a sow's ear. That is how the saying goes – isn't it? Love the way the frame turned out. April
Love your photo frame and how you used the stamp. Thank you so much for sharing.
What a fun project! I love you you took blah and turned it into WOW with True's great papers and dragonfly image. Great idea!
love it!!!!! u did good with your thrift store shopping!!
I love the dragonfly. That's a stamp I'd use a lot.
What a great idea…super cute!
Great project! Love your creativity! Thanks for sharing!
Such a cute frame. I just love how you decorated it. TFS.
Very cute project, Joe. The frame really does fit well with the dragonfly stamps. Thanks for sharing.
What a fun project.
Great project!
This is soooo cute! What an adorable idea for a small photo! Nice work, Joe!
I love repurposes frames like this….wait, I should say I love FINDING frames to repurpose but they tend to sit for awhile before i get around to them> LOL Thanks for the inspiration to get one of my frames altered now! This is adorable!
WOW! It is beautiful.
Joe, is there nothing you can't turn into a work of art! This is so cute. I love the bright colors and really love the floral trim on the base. Great Job!
To start off with, SS has lots of cool stamps. For one of the pages in the book I stamped the clock image twice, once on a cream colored cardstock and once on white. With a bit of creative cutting, a bit of metallic inks and Crystal Lacquer I made a nifty Steampunk clock.