

Project Description
 This pin is one of my favorites. It belonged to my mother. Her brother (my uncle) brought to her as a gift when he was in the Navy during World War II. I’ve always enjoyed wearing this piece of jewelry as a pin, but with Amazing Mold Putty I can now wear a reproduction as a necklace!
I made a mold of the original pin mixing equal parts of A and B putty rolled the putty into a smooth ball and slightly flattened the ball before pressing the pin face down into the putty. In about 10 minutes the mold was set. and kneaded them together until I had a uniform yellow color with no streaks. Here I have a white casting that I can treat in a variety of ways–gilding foil, paints, markers. I just haven’t decided exactly how I want to treat this one.

For my finished pieces I used Amazing Mold Putty’s gold and silver metallic powders and different colored mica powders to achieve different looks for the reproductions. I brushed the powders into the mold before pouring in the quick casting resin. The resin is easy to mix–equal par ts A and B, stir together until there are no streaks, and pour into the mold.
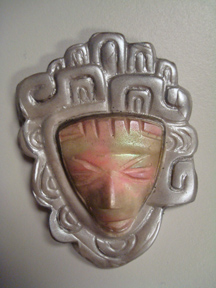 | 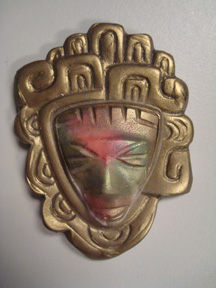 |
I also use pearlized Ultra-Thick Embossing Enamel and mica powders for two castings–one is a full reproduction and one is only the face.
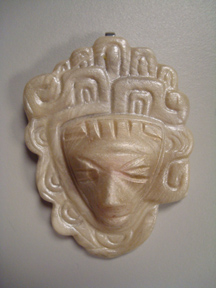 | 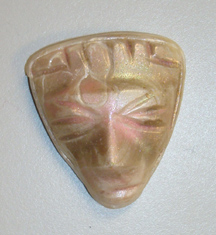 |
The neatest thing is that now I can share a piece of mother’s jewelry with my sisters.
You can see lots of other exciting molding and casting project on the Amazing Mold Putty blog.
These are amazing. I absolutely love jewelry are would love to try this technique. Thanks so much.